Installing Solar Panels
How to Perform a Do-It-Yourself Installation of Solar Panels on Your Homes
More and more homeowners are now considering to install a specific type of solar panel because it is environment-friendly and more economical in the long run. With guaranteed long-term profit (read about FiT Rates), a lot of people think of it as an excellent choice to apply for Feed-In Approval and get started on Solar PV Installation.
However, there are some people too, who thinks that installing panels are expensive. So what they do is they purchase the panels and they install them on their properties themselves. Is this possible? Of course it is for as long as you’re confident with your abilities as a handy person. Let us walk you through the process of installing solar panels on your homes.
(A little note, though, if you don’t have any knowledge in electrical system and/or plumbing, DO NOTattempt to install the panels yourself to ensure safety.)
Factors to Consider Before Installing Solar System
Before you begin, ensure that you know the following details to guarantee proper installation:
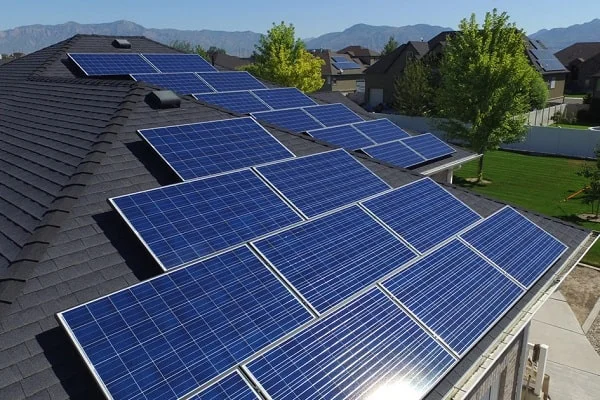
- The area of your roof or your yard where you want to install the panels to make sure that you have enough space at a right angle direction (facing towards where you can generate more solar energy).
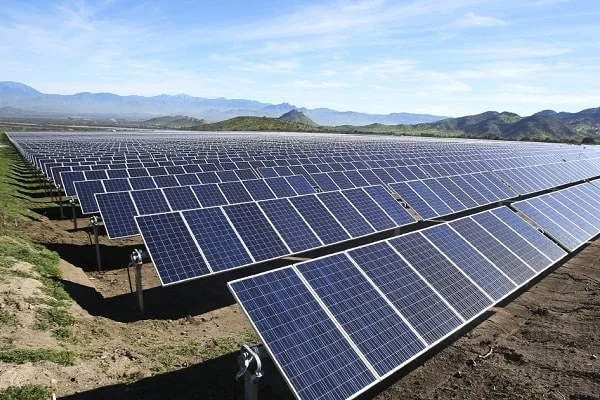
*Consider mounting the solar panels instead if you think that you have more yard space than roof space.
- If you’re considering installing the panels on the roof of your home, check the area if there are leaks or damage that needs repair.
- If there are a lot of shading in your area (i.e. buildings, trees, etc.), figure out on what you can do about it before purchasing and installing the panels.
- Research and get detailed information on existing laws in your location regarding installation of solar panels.
- For grid-tied installation, research and get detailed information of your electricity provider’s requirements.
- For off-grid installation, make sure to have a well-ventilated area to place the batteries and charge controllers.
- Determine the solar system size that you want to purchase and keep its warranty which is usually up to 20 years in cases where you installed the panels improperly.
Do-It-Yourself Solar Panel Installation
Step 1: Make a box or panel that will have a solid wood bottom having 1.5 inch rails for the middle and the sides of the panel.
*There are various sizes of the panels, depending on the amount of energy you want to generate.
Step 2: Build an array (solar cells) after having the exact size and the total number of panels your home needs.
*Be extra careful when doing this step as solar cells are fragile.
Step 3: Put the cells upside down on a readily made pattern and solder the tabs to each cell with ¼ inch of plywood; once tabs are in place, solder each tab to the next cell to be able to build panel of cells and the flip them carefully to place in the solar panel.
Step 4: To avoid moisture to get inside the unit and degrade the cells, which typically happens with DIY solar panels, use a layer of foam tape around the edges that are 6 inches apart.
*Foam tapes can be purchased at a local hardware store.
Step 5: Consider purchasing other components (batteries, charge controllers, etc) to ensure efficient performance.
The above information is just the basic process of solar panel installation. If you have a limited budget, you may follow these steps considering that you have the technical knowledge. Otherwise, contact a professional solar system installation company to avoid unsuccessful solar panel installation.
*Installing the panels yourself may make you unqualified for grants or incentives either from your electricity provider or the government. Contact SEDA Malaysia or visit their website for more information.

